
Nail art is one of the fastest and convenient way of creating beautiful nail designs. Today, nail art has become one of the most popular methods that allow customers to create intricate nail designs with easy to use tools. The best nail art stamps and stamper allow you to accomplish a design in seconds compared to before.
What are Nail Art Stamps?
They are usually metal discs engraved with creative designs and used to imprint the designs on the foreground of the nail with your chosen nail polish as the background. The best nail art stamps allow you to achieve amazing designs at the comfort of your home. All you need is to purchase the stamping plate collections kit and you are good to go. The good thing about the stamps is that they are reusable. They are cost friendly and time effective eliminating the need for you to make a salon appointment. Majority of plates come with unique designs which can be used individually or together. The designs can also be used on natural nails together with gel and acrylic nail polish.
What Nail Art Stamps are for
Just as the name suggests, nail stamps are used to apply intricate designs on your nails. The metal disc contains a wide range of designs which are transferred to your nails using a stamper. Thanks to the use of a metal disc as a base, the nail arts are easy to dress. They are of professional quality which means they will last for long. Users have the ability of applying multiple colors within a chosen design allowing you to enjoy your creativity. The best thing about nail stamps is that they help to save time and money by giving you the perfect home manicure.
How to use
Nail stamps have become the most efficient method of applying detailed nail arts saving you time and money. The kit comes with a special metal disk engraved with multiple pre-set designs and a stamper. Even if it’s your first time to use nail stamps, the process will be much easier. That is why nail art stamps are a great addition to your home manicure kit. Want to know how they work? Here is a step by step guide of how to use nail art stamps.
Step One – Select your work station
The first thing you need to do is choose your work area. It should not just be any location in your home. First and foremost, you need a manicure table or a regular table and comfortable chair. Cover the table with clear plastic sheet to prevent the nail polish from accidentally coming into contact with the surface. Light is another important factor to incorporate. If you lack portable desk lamps in your home, you can place the table and chair in a well lit location. Excess noise and distractions will make your home manicure process tedious so choose a location with minimal distractions and less or no noise. This will allow you to focus on what you are doing.
Step Two – Prepare your nail polish colors
If you have been performing home manicures, then you probably are well stocked when it comes to nail polish. If not, you need to purchase your nail polish colors ahead of time. This eliminates the chances of you scrambling for some at the last minute. Start by setting your nail polish colors on the table. This means they will be readily available within a moment’s notice. Do not forget a clear base and top coat. Do not limit yourself in terms of creativity either. You can try out multiple color combinations from metallic to sparkly.
Step Three – Purchase your nail stamp kit
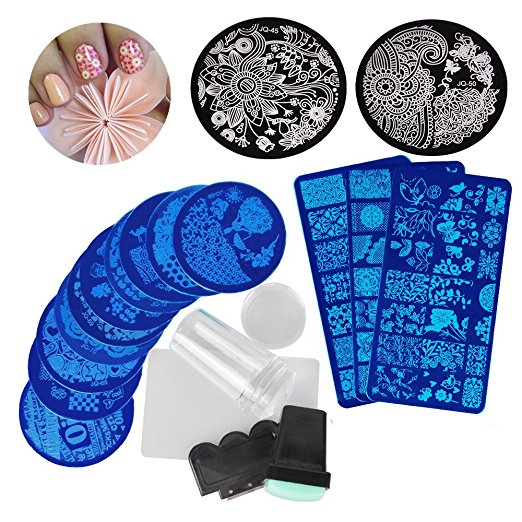
Today, you can easily purchase products from the comfort of your home via the internet. This is the same with the best nail art stamps. You can also visit the nearest store. When shopping, make sure the kit contains stamping plates, stampers and scrapers. Some kits allow you to purchase the above items separately. You can always seek the assistance of an expert at the store if you are unsure which is best for you. If you are purchasing online, start by reading customer reviews. This will allow you to know which kit is of high quality and which is not.
I would highly recommend this kit, it has a mix of metal and plastic plates as well as a transparent stamper.
Step Four – Prepare your nails
Start by applying a clear base coat. This helps to protect your nails from harsh effects. It also acts as a barrier preventing staining. There are three types of base coats – hardening, quick drying and sensitive. Once you are done with the base coat, apply base color. Choose a color that you love or you can always try something new. Allow time for the coat to dry before proceeding.
Step Five – Nail Art Stamping
Place the metal disc on the table, select your desired pattern and paint over with the polish. For the best results, choose a highly pigmented and thicker polish. Using the scraper, quickly remove the excess polish until you are able to see the design clearly. Pick the stamper and roll it over the metal plate. Start by rolling it from one side to the other allowing you imprint the design clearly. Roll the stamper on your nails and finally, apply a top coat to prevent smudging.
Types of nail art stamps
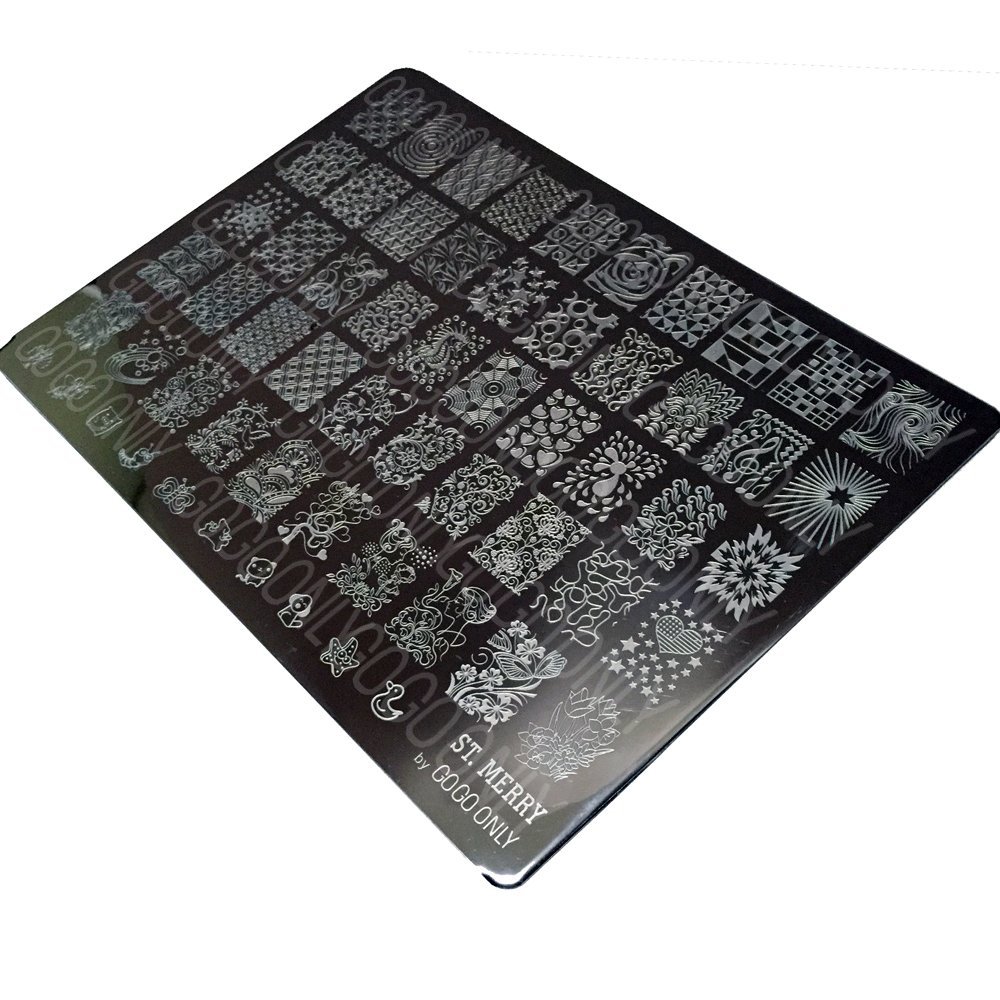
1. Metal disc plate
This is the most common type. The designs are engraved on a circular metal plate which can be lifted by applying polish over the design and rolling the stamper.
Wonders of Life Collection
St. Merry Collection
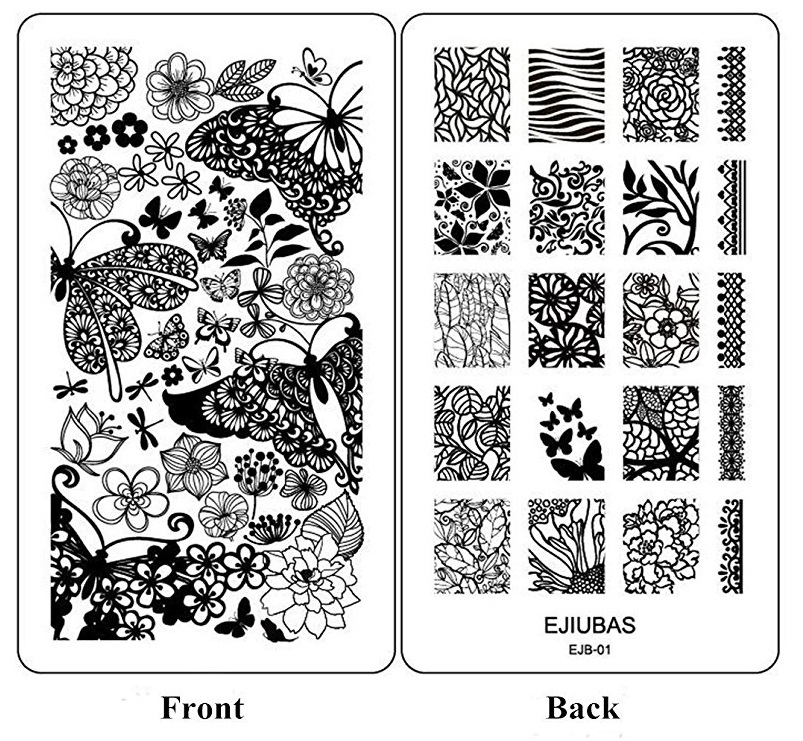
2. Plastic plate
Just like the metal plate, this model has designs imprinted on a rectangular plastic. The same technique used on metal discs when applying nail art is also used on plastic plates.
3. Paper stencils
Unlike metal and plastic plates, paper stencils are much easier to apply. Just apply the base coat followed by the nail stencil you desire and a top coat to protect the design. The paper stencil needs to be removed when the polish is still wet before the final top coat is applied. Tweezers may be needed for better placement.
Which are the Best Nail Art Stamps?
Metal plate designs are the best. They are long lasting, come in a wide range of designs and cannot be damaged easily either through melting like plastic plates or tearing like paper stencils. I personally use a see-through plastic stamper. This allows me to see the exact location where I am stamping the nail.
Final thoughts
In the past, customers had to spend a few hours in the nail salon just to have intricate designs created on their nails. This was time consuming and sometimes, you would end up with a few designs not having the perfect lines and composition.
The best nail art stamps eliminate the need of making a salon appointment especially when you are in a hurry. Furthermore, the designs vary which means, you can stamp or change to a design that fits your style for the day.